Archive for the ‘instruction’ Category

Sunday, July 17th, 2016

Art Education: Warming Up

An often overlooked aspect to your daily drawing exercise is the warm-up period. Athletes and musician both have standard warm-up activities which they engage in before each performance or practice session, but for some reason this type of thinking isn’t widely circulated among artists. If you struggle to begin a drawing session, don’t like the initial quality of your drawings, or are trying to establish a new Drawing Habit, then warming up is for you!

Choose Simple Drills

When deciding what sort of warm-up to do, make sure you don’t pick an activity which will take a great deal of effort and time. The point of warming up is to get your body and mind into gear so that you can effectively spend your efforts on a more important piece of work. Make sure that each drawing for your warm-up takes only as much as 2 minutes to complete before moving on to the next. In my suggestions below, several of my activities take under 10 seconds to perform.

Fill an entire page with 1 type of drill before moving on to another activity. If you spend your warm-up time rapidly jumping to different exercises, you’ll never truly get the benefit that repetition can give you. Instead, focus on doing 1 drill correctly and resist the temptation to let boredom drive you off too soon. While you certainly don’t have to do that same type of warm-up every day, you should have a small rotation of activities that you come back to frequently which represent your weaknesses.
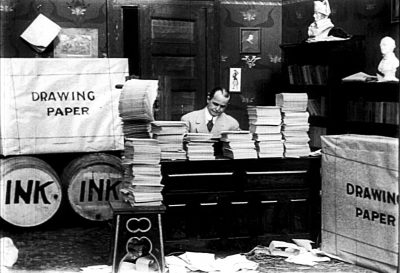
Winsor McCay Little Nemo 1911

Practice Good Technique

There’s little point in practice if you don’t draw correctly. Very often students fall into the trap of repeatedly drawing the same things over and over in exactly the same way. This is the trap which produces the bulk fan-art websites’ content, and explains how someone can draw voraciously for years without ever improving. As a rule of thumb, you should be slightly uncomfortable when you practice good drawing technique unless you’ve already mastered it. After all, if you’re not comfortable, then you’re not changing the way you draw, in other words, you aren’t learning!

Set a Hard Limit

Make sure that your warm-up doesn’t take up all of your drawing time. The point is to get yourself going and to motivate you to begin your drawing session, but the longer your warm-up lasts, the less it functions as a warm-up. You can set a limit by using a timer, or setting yourself a goal of a certain number of drawings, or as I do, set the goal to be filling the page. Any finite limit will keep the warm-up short enough to do its job, while still forcing you to move on to your real drawing session once completed.
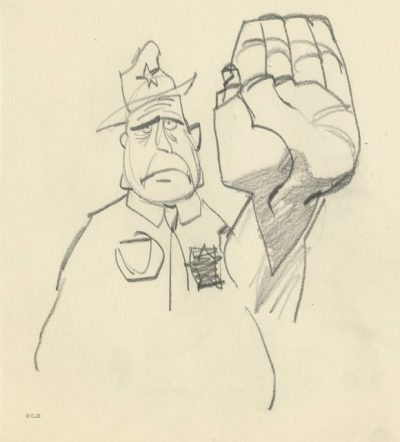
chuckjones_police_doodle

Suggested Warm-Ups

Remember that these are only suggestions, and that your skill level will vary from my own, and that of other artists. Ideally the activity you choose should be some minor but important aspect of your primary focus, and allow you to strengthen your understanding without becoming overly taxing.
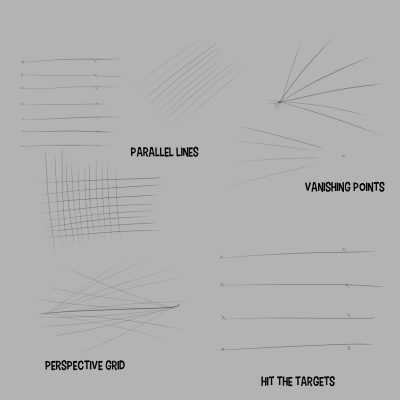
warmups_st_line

Straight Lines

Being able to comfortably free-hand straight lines consistently is a core skill for any artist, but it’s particularly useful if you want to make quick perspective grids for storyboarding.
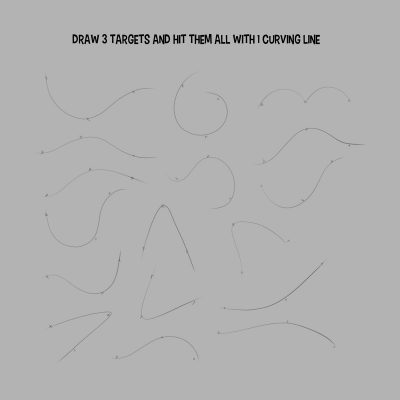
warmups_cu_lines

Curved Lines

This exercise will help build your confidence while drawing or inking. Make sure that the line is put down only one time, and with a clear, clean stroke.
warmups_circles

Circles

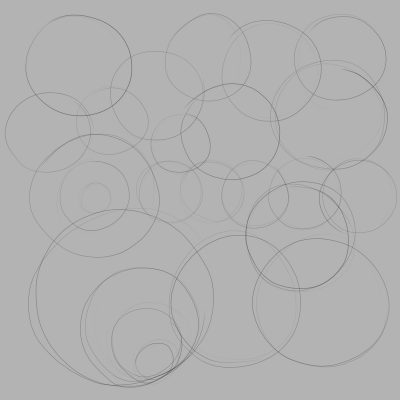
Circles are one of the most fundamental shapes which is used in the construction of characters, scenes and objects. Although you might think you can draw circles already, try to carefully control their size, position, and relationship to other elements on the page.
warmups_ellipses

Ellipses

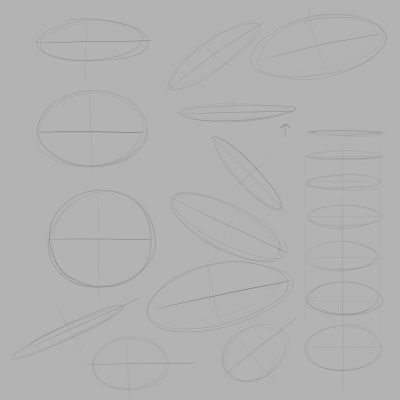
By adding dimension to the circle, we can draw discs in 3D or play with the squash and stretch of a ball while trying to maintain its volume. Be precise and don’t settle for misshapen or crooked ellipses.
warmups_cylinders

Cylinders

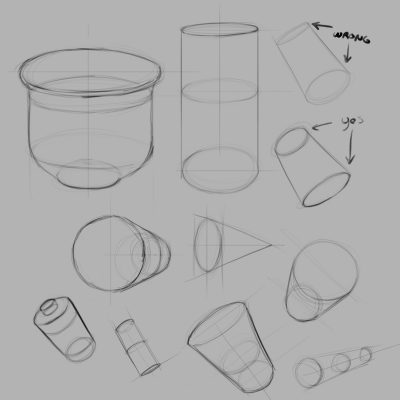
By adding two ellipses together, you can create a 3D volume. Cylinders are a great way to practice some easy perspective drawing and also to play around with more exaggerated effects like fish-eye distortion.
warmups_form_tubes

Form Tubes

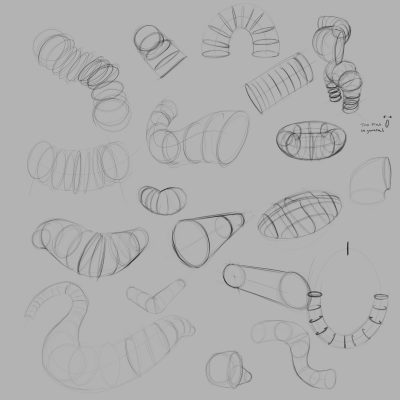
A great way to get a better handle on how ellipses move in space is to make some snake or slinky shaped tubes. This can be a big challenge depending on how you want to manipulate the appearance of depth.
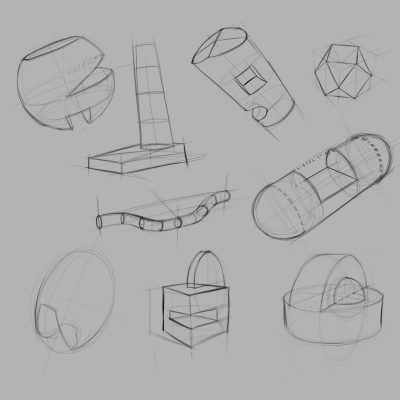
warmups_3D_forms

3D Volumes

If you’re already comfortable with vanishing points and linear perspective, you could construct some cubic solids on your page in various positions within the same space. For added challenge try combining complicated volumes like spheres, wedges, cones, etc.
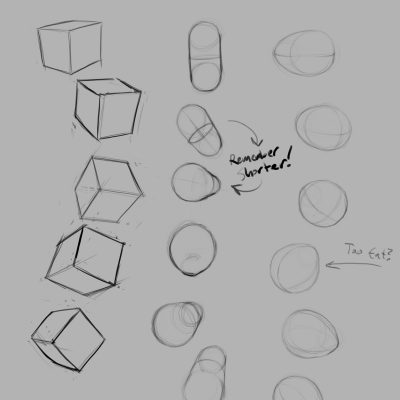
warmups_tumble

Tumbling Objects

Take any object which you can comfortably draw and rotate it slightly each time you draw it. Make sure that the sequence of your drawings can be viewed almost like a flip-book, or you could always animate the object as your warm-up.
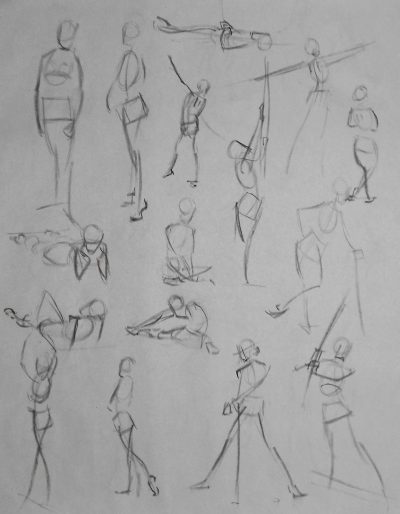
warmups_gesture

Gesture Drawing

For those who are already fairly accomplished at drawing the human figure, doing simple fast gesture drawings can be a great way to get your arm moving and re-familiarize yourself with the body before you begin a drawing session. In the absence of a live model, there are online resources such as stock photography which you can use. If you want to try random gesture poses at your computer, I recommend quickposes.com.
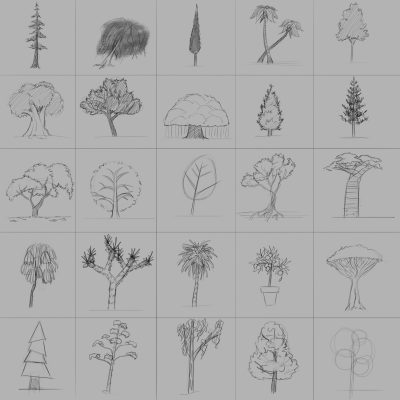
warmups_draw25

Draw 25

If you aspire to be a concept artist, you may want to try this simple warm-up of drawing 20 variation of any object. This can help you to engage your imagination and test your knowledge of a given subject. For beginners I recommend having an image search handy for reference.

FacebooktwitterredditpinterestlinkedinmailFacebooktwitterredditpinterestlinkedinmailby feather

Monday, May 23rd, 2016

Art Education: Your Practice Habit

While practicing your craft you may find yourself wanting to devote time to practice, but finding either little available time, or a lack of motivation to begin work. Commonly, many artists will wait for inspiration to strike before they begin working, and then will feverishly work for hours on end while the inspiration lasts. Later these same artists many times leave their work unfinished, forever waiting for their fickle inspiration to return. Others are frequently paralyzed by indecision as they wrestle to find the right idea to work on in the right way. Even productive artists can suffer from their habits, working themselves sick by missing out on sleep and meals.

If these scenarios describe the way you work, then what you need is to form your own Practice Habit. Consider the many daily activities you do without any prompting: eating meals, brushing your teeth, watching a show, etc. For almost all of us, our daily lives are filled with activities which we perform at the same time in the same way every day, which we no longer even think about. We want your artistic practice to be one of these automatic activities (or at least we want starting practice to be automatic, not the work itself).

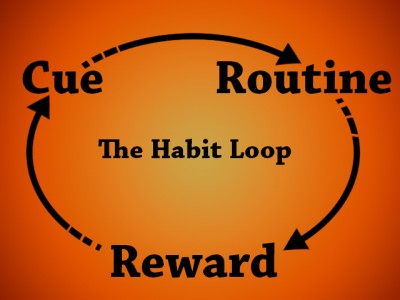
The Habit Loop

The_Habit_Loop

The core loop of habits

We can use certain psychological tricks to establish and reinforce behaviors until the become second nature. Doing this takes time and discipline, but once established, makes work pleasant and regular. I have experimented on both myself and on students in using this method and have had much success altering our habits for the better over a period of about a month before the habit was solidified.

It’s important to note that replacing an established habit with a new one is much harder to do than institute a fresh habit without competing. Therefore starting this process immediately following a vacation or the end of a school quarter is particularly effective. Additionally, any disruption of your routine which lasts more than a week may destroy your current habits and force you to establish new ones.

Cue

Firstly, you need a signal to activate your habit. This can be as simple as an alarm on your phone or computer, or you can piggy-back on an existing cue such as the end of work, class or a meal. Make sure that the cue is unavoidable and clear so that you don’t accidentally miss it.

Routine

This is your actual practice. You should set up your work space and materials in the same way, preferably in the same place every time you begin work. As we’ll see, the work itself shouldn’t be exactly the same day to do lest you risk artistic stagnation, but the circumstances under which you work should be as consistent as possible to reinforce  your habit and reduce distraction.
Reward

This is the positive feeling or result of having worked. You can also use a material reward on yourself if you find it necessary such as a snack or a game. With artistic work, this is usually not needed because the work process itself is quite rewarding on its own.
Be Consistent

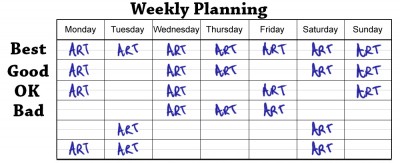
We want to create a daily artistic practice, meaning that if at all possible, you should pick a time to work which is available seven days a week, every day of the month. Because of work and family obligations, working on your art everyday may not be possible. Obviously we want to skip as few days at possible, but if you must skip a day, try to make it the same day every week or try to pattern the days to skip the fewest number of consecutive days. The worst case scenario which will still work for establishing an art habit, is to work on your art every other day.

Weekly_Planning

Take the time of day into consideration as well. Most people have a particular time of day which is best for working, so try to think hard before choosing your’s. In the past when you’ve worked on your art and felt good about it, was it early in the day? Was it immediately after lunch? Late at night? Whenever it is for you, try to make that time your work time.

Similarly, you should pick a work space which is consistent as well. Being in the same place will help to reinforce your habit by making the physical location a part of the routine. Try to pick a place which is always available to you and free from distraction.

Plan to Begin

The goal for habit forming is to start working. That’s it. It doesn’t matter if you then proceed to work for an hour or for 10 minutes, the important thing is to establish a time to begin working and allow for time to continue if you feel like it (in my experience, most artists will happily continue working, but starting work is the hard part).

Now you may be saying to yourself, “Why shouldn’t I plan to work for a few hours?” Forcing yourself to work, although necessary in a professional environment, is not what we should do for our personal practice, and the reason why has to do with the Reward step in the Habit Loop.

Imagine that you begin work and can’t do anything right that day. You try and fail, and force yourself to keep going for the whole duration of your planned time. You feel awful right up to the end of the session and exasperated, quit when the allotted time is up, happy to be done with it. How will you feel the next day when you have to sit down to start work again? Do you think those negative feelings might influence your attitude when you start working the next day? For me, and for many of my students, it does, which is why I never recommend forcing a set duration of work.

Instead, I recommend planning a start time only, providing available time to work in if it happens that day. The benefit of this is a lower amount of pressure daily and permission to fail to work on a given day without heaping guilt on yourself. So you didn’t get anything worth while done today? So what? You worked yesterday and you’ll work again tomorrow due to the daily component of your practice habit. Consistency is very freeing, as it ensures that regular progress takes place, while providing forgiveness for work lulls.

Don’t Distract Yourself!

Remember that the purpose of this time is for personal work only. This means don’t turn on the TV or Netflix, don’t listen to podcasts, don’t start an hour-long phone call while working. Concentrate on only your art. As stated in Richard Williams’ “The Animator’s Survival Kit” this advice alone has the power to radically increase your productivity.

milt_kahl_richard_williams

Milt Kahl on working while listening to music.

The compound problem with working while distracted is that we’re trying to establish a practice habit. This means that if you establish a habit of working while watching Netflix, you will always need to work while watching Netflix! Don’t make a distraction a part of your habit.

If you’re working at home or in a school lab, set yourself up for success by letting people around you know to leave you alone at this time. Turn off your phone if you have to. Sequester yourself in your locked room if you must. Do whatever it takes to get time with just you and your art, you wont regret it.

Use Motivation Tricks

Get others to monitor your progress. If you promise your friends and family to show them your work daily, then you must have work to show daily. This little trap can make it a lot more important to you to work consistently than working alone.

Work near other artists (or at least in parallel). If you can arrange it, have someone else establish a practice habit at the same time you do. You don’t have to work in the same room, but you should frequently check in on the other’s progress. There’s nothing wrong with a little competition.

Keep track of the amount of work you’ve produced. This is very simple, whenever you finish an animation, or painting, or page of drawings, add 1 to the total you’ve completed and keep the total number visible. Human beings love watching numbers tick upward, and this tiny effort can have a noticeable impact on your throughput (especially when combined with the previous method).

Set a numeric goal for your work. Anything will do, such as 100 drawings, or 50 seconds of animation, etc. A medium to short term goal is a great way to push your work forward and keep the wheels of progress turning.

Finally, remember to set small goals which you can maintain. When you realize that your previous goal has become second nature, set another small goal which builds on your first. If you are able to incrementally ratchet your work upward by small degrees, you’ll find that before too long, you’re much more productive than you were before.

FacebooktwitterredditpinterestlinkedinmailFacebooktwitterredditpinterestlinkedinmailby feather

Thursday, March 5th, 2015

Instruction: Willy Pogany’s Drawing Lessons

Pogany's Drawing Lessons

Willy Pogany was one of the most important book illustrators and designers of the first half of the 20th century. His Rime of the Ancient Mariner and books based on Wagnerian opera are masterpieces, to say nothing of his editions of Mother Goose, Alice in Wonderland and Faust. While other illustrators were confining themselves to an occasional tipped in plate buried among page after page of identical text blocks, Pogany broke the mold, designing elaborate pen and ink illustrations that surrounded the text, ornate capitals for the beginning of each page and calligraphy that turned the words into art. He is probably the artist most responsible for establishing what we think of as modern children’s book illustration.

Pogany's Drawing Lessons

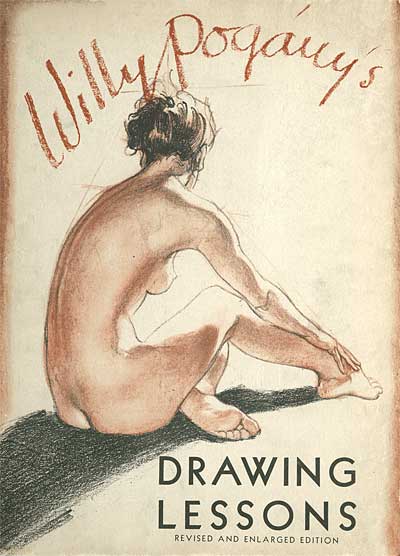
He was also an author and teacher, with three books covering drawing, oil painting and watercolor. Today, I am presenting two sections from his book Willy Pogany’s Drawing Lessons. The first is titled…

FIGURE SKETCHING

Pogany's Drawing Lessons

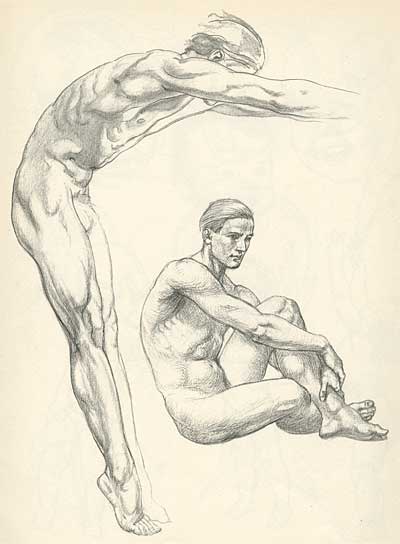
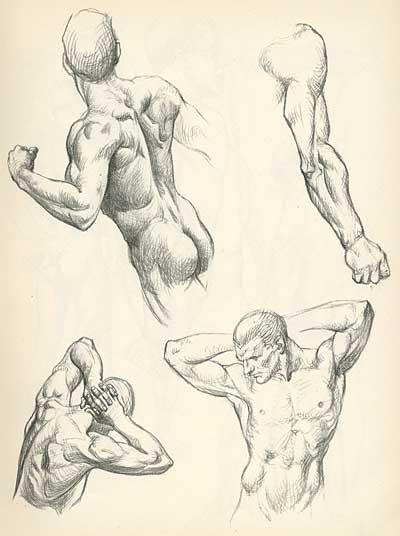
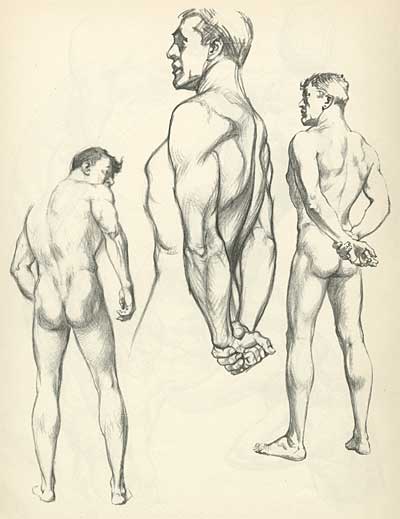
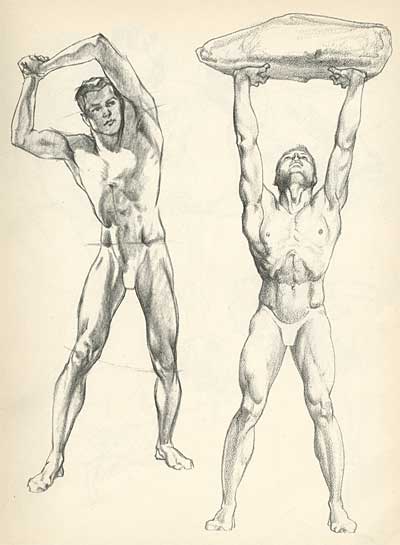
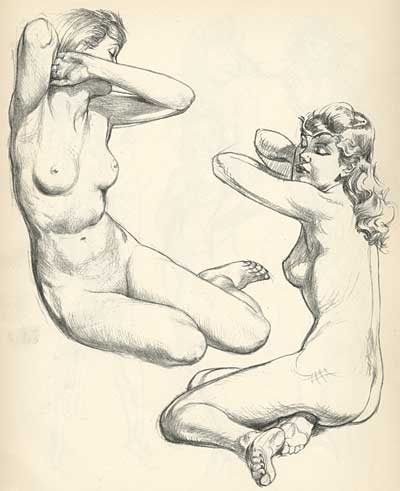
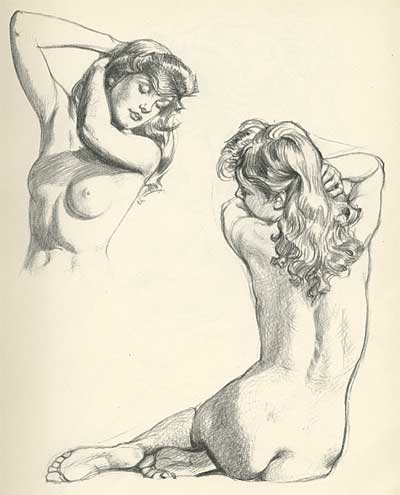
One of the most fascinating subjects to draw is the human figure. The fine proportions, beautiful modeling and delicate balance, and the infinite variations in movement and repose are such that there is no other living thing to compare with it. Through countless ages artists of all races have drawn, painted and modeled the human form.

Pogany's Drawing Lessons

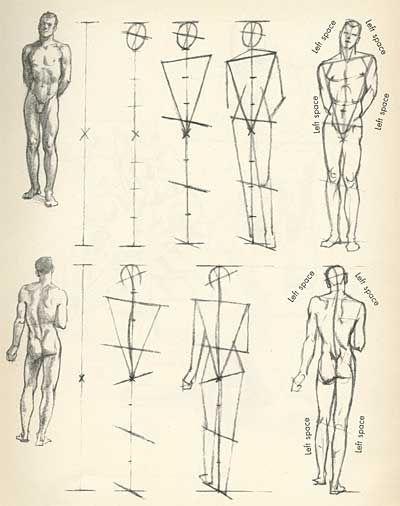
If you have never done any figure drawing, I would suggest that you start to draw the human figure in its simplest pose with little or no foreshortening. This is an upright standing position with arms close to the body and feet together.

Make up your mid before you begin, how large you want your drawing to be and mark on the paper the total length desired. Your drawing must be exactly the size that you have indicated on your paper.

Your next step is to draw a straight vertical line connecting the two marks. This will indicate the imaginary line of gravitation running from head to foot.

Now mark the center of the body by dividing the vertical line into two equal parts. Mark your proportions.

Draw in the oval of the head.

Pogany's Drawing Lessons

Measure the width of the shoulders compared to the length of the body. Draw in the shoulder line. Do the same with the hips.

To measure, use a pencil in your outstretched hand, first getting the width, then measuring vertically the number of times the width goes into the total length of the body. Now proceed to draw the masses of the chest, hips, legs, etc.

Pogany's Drawing Lessons

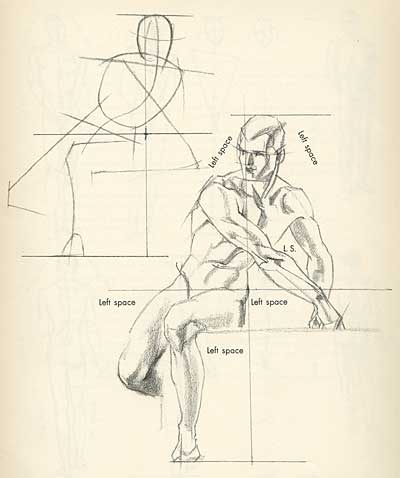
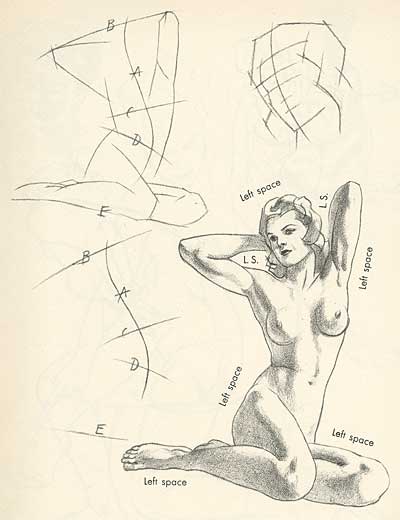
To check on your drawing, watch the shape of the background that surrounds the figure. See if these "left spaces" (or negative shapes) correspond with the outline of your drawing.

For instance, whatever the position of your subject, watch the shape and size of the space between the arms and the body; between the tilted head and the shoulder; between the two legs, etc, etc.

These will be your left spaces. Special attention to them will be of great help in making a correct drawing.

Pogany's Drawing Lessons

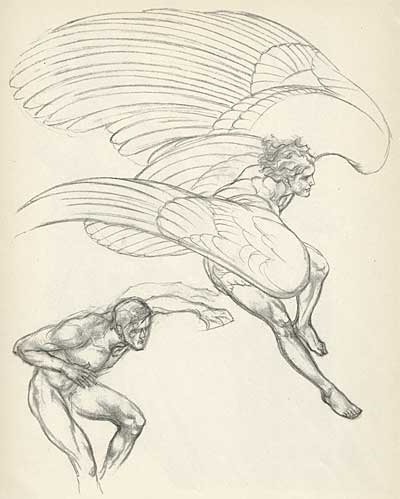
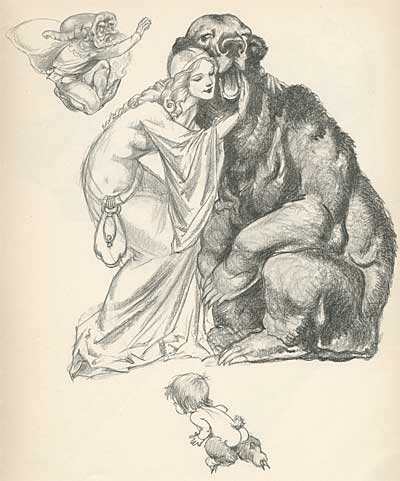
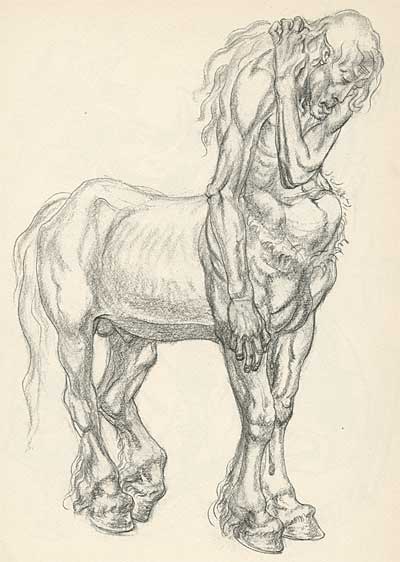
Cartoons are about things that aren’t real- pure imagination. But even here, it’s important to have balance… A friend of mine, Louise Zingarelli once told me, “You can’t draw crazy things until you can draw perfectly straight. Wonky perspective all over isn’t weird or interesting- it’s just ugly and dumb. You’ve got to have both, working right against wrong… just like working warms against cools in colors." The second section of the book we are presenting today illustrates these points.

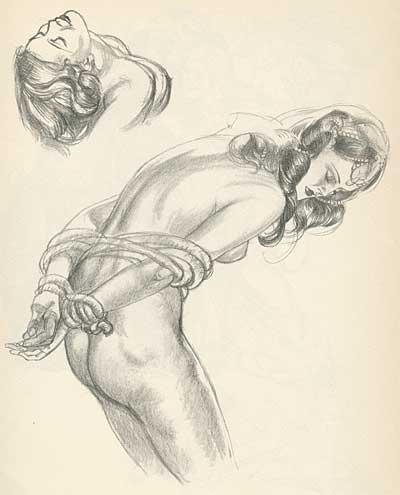
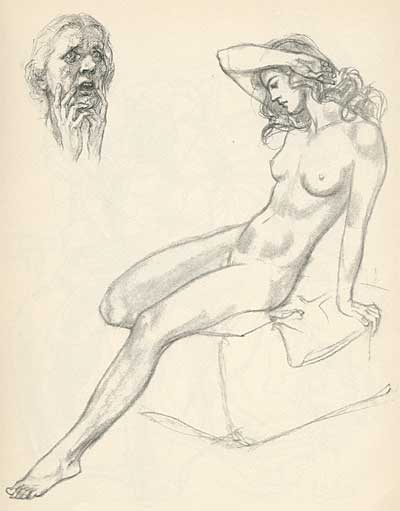
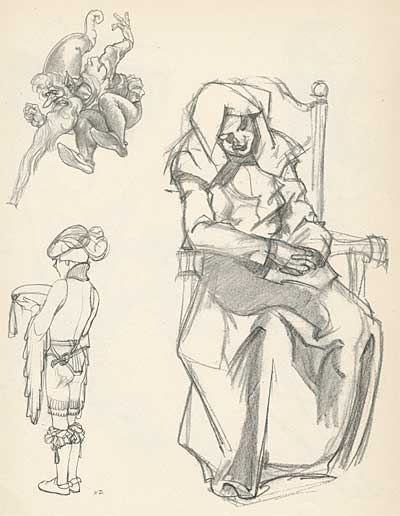
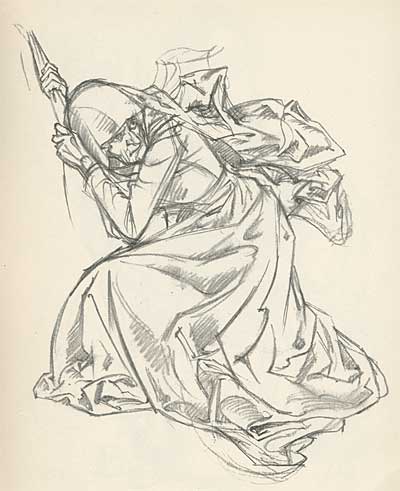
POGANY’S SKETCHBOOK

Pogany's Drawing Lessons

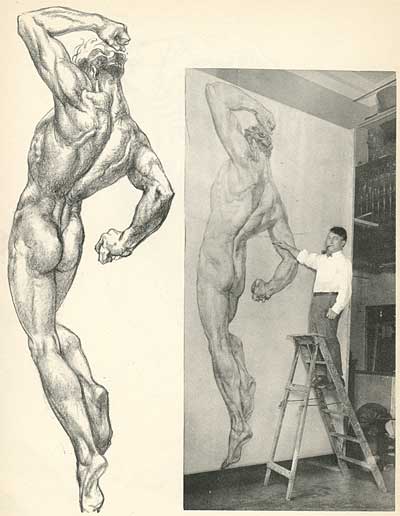
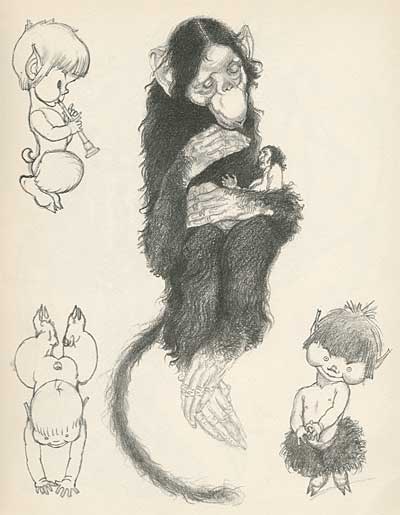
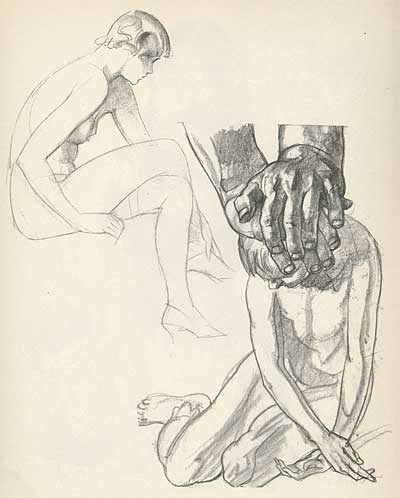
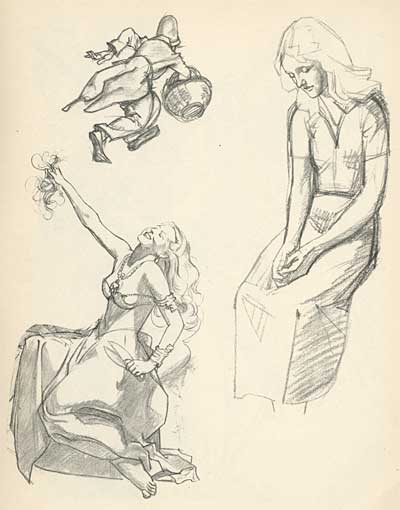
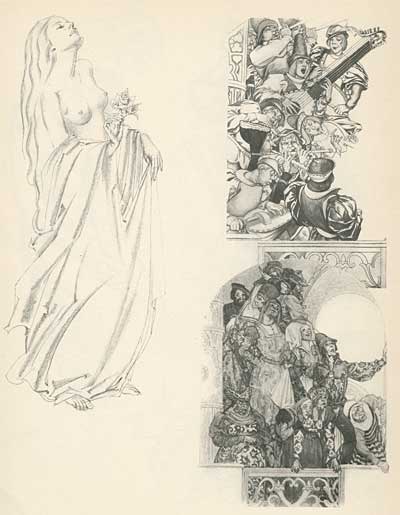
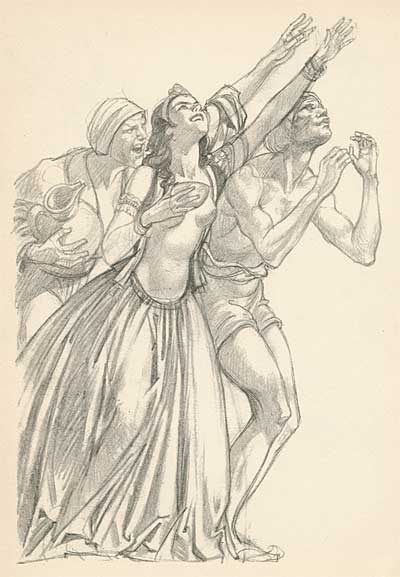
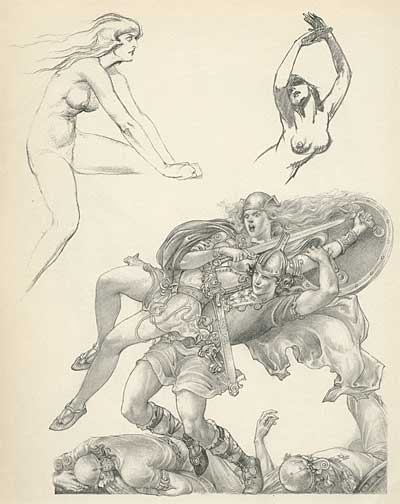
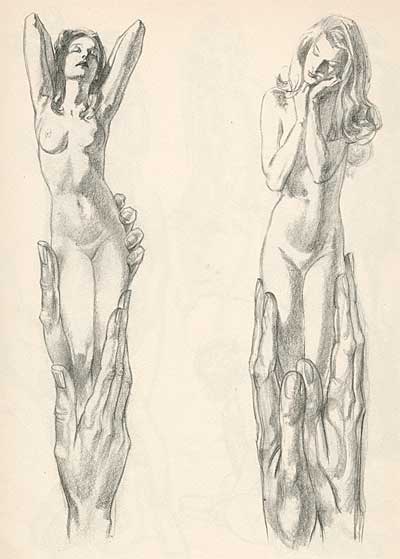
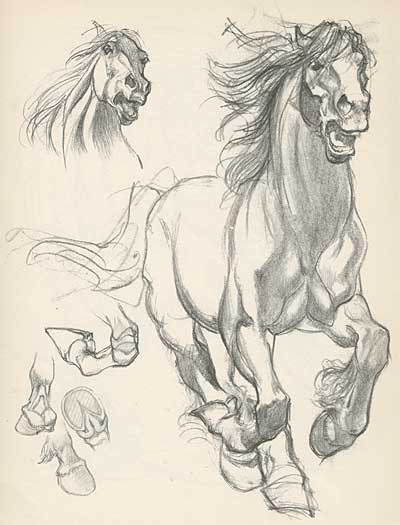
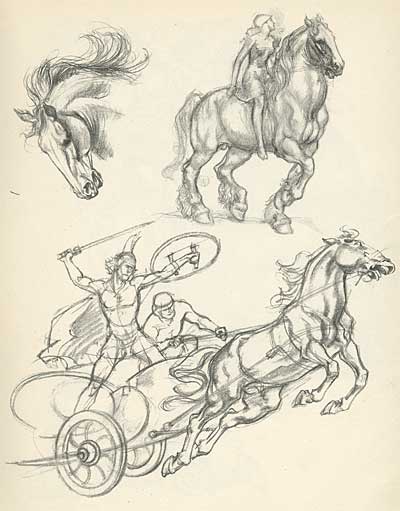
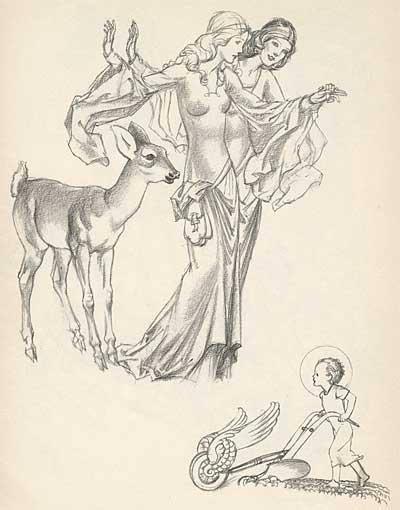
Willy Pogany was a children’s book illustrator who specialized in fantasy subjects. At the end of the book, after the lessons, he presents a selection of his work sketches. Pogany was particularly eloquent, with a huge library of shapes and forms in his head. He also had an amazing sense of balance- making the fantastic seem real. This is truly great draftsmanship.

Pogany's Drawing Lessons

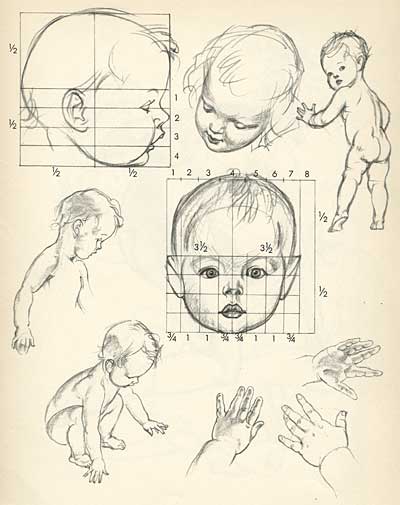
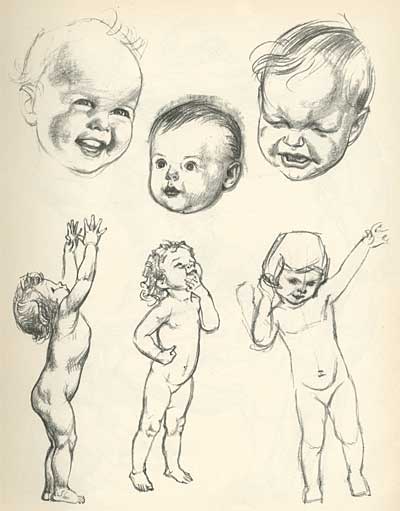
Drawing is a language, and it requires building a vocabulary to be eloquent. Students should carry a sketchbook with them wherever they go and draw everything they see- from people’s heads in a late night coffee shop to fireplugs on the street. Everything you draw becomes part of your dictionary of imagery in the future.

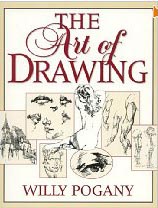
Pogany’s classic drawing lessons are still in print under the title, “The Art of Drawing”. Pick up a copy at Amazon for your reference library.

Stephen Worth
Director
Animation Resources

INSTRUCTIONINSTRUCTION

This posting is part of an online series of articles dealing with Instruction.

IllustrationIllustration

This posting is part of a series of articles comprising an online exhibit spotlighting Illustration.

FacebooktwitterredditpinterestlinkedinmailFacebooktwitterredditpinterestlinkedinmailby feather